Contact page
If you want your readers to contact you directly, you can add a contact page to your website. This theme includes built-in Formspree.io integration for easy setup.
Add the contact page
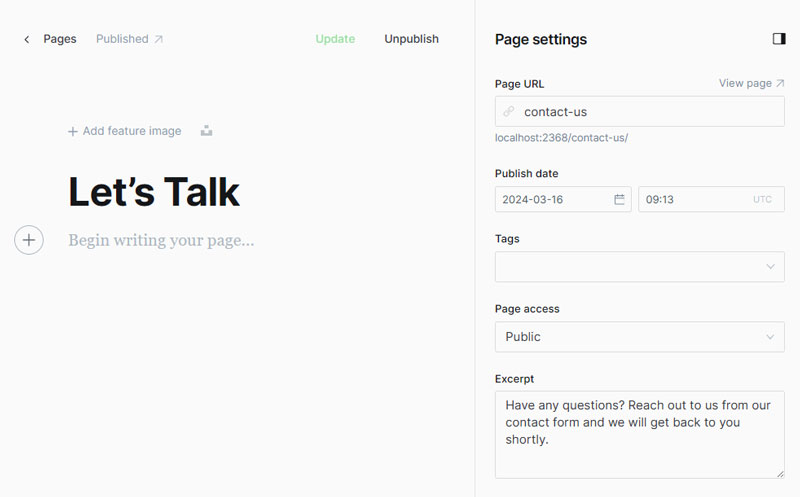
- Create a new page, add a page title, add an excerpt, and open the 'Page settings' panel using the icon in the top right of the screen.
- At the bottom of the panel you’ll see a dropdown menu titled 'Template'.
- Use the dropdown menu to select the 'Contact' template, close the panel.
- Finally, click 'Publish'.
Easy: Standard Contact Form
To simplify setup, we've pre-built a contact form into the contact page, featuring fields for Name, Email Address, and Message. You can enable this quickly and easily, even without any coding knowledge.
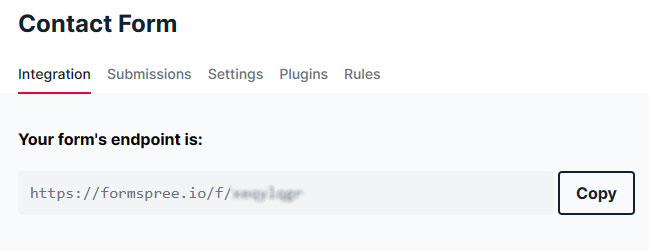
Create a form on Formspree.io
- Go to formspree.io and sign up for an account.
- Once signed in, create a new form and obtain the endpoint URL for the form.
Add your Formspree endpoint
- Navigate to 'Design & branding' settings in the Ghost Admin.
- Locate the "Site wide" tab on the right-hand side of the interface.
- Navigate to the field labeled "Contact form endpoint" and toggle on or off the setting.
- Paste your Formspree endpoint. e.g:
https://formspree.io/f/xeqylqgk - To apply the modifications you've made, click the "Save" button.
Advanced: Custom Contact Form
If you prefer to use a custom contact form instead of the one included with the theme, you can do so without editing the theme files.
Important: This step is not required if you have set up the standard contact form.
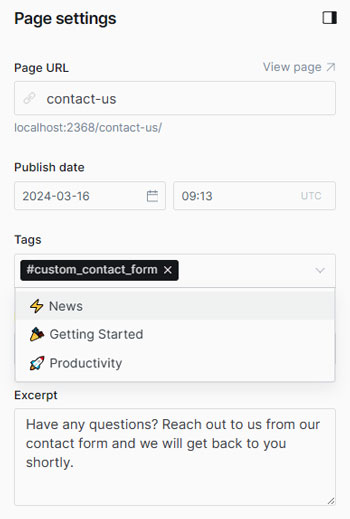
Enable the custom contact form
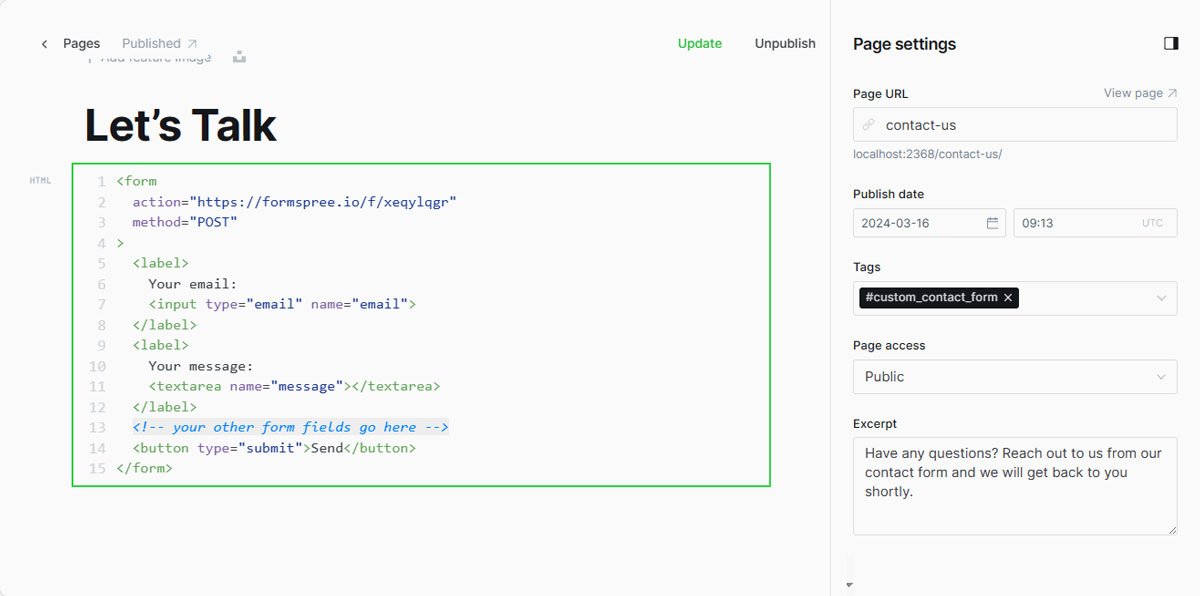
Add the custom contact form
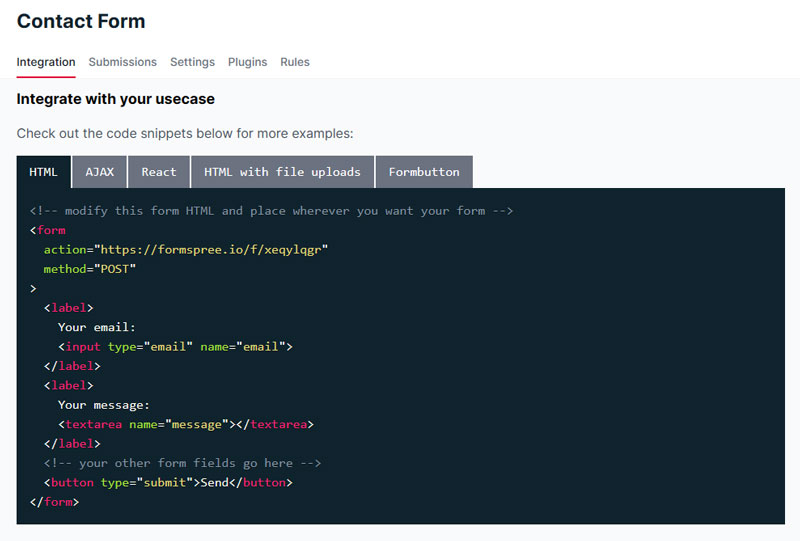
- Go to your Formspree account and copy the form content from the "HTML" section.

- Navigate back to the Ghost dashboard and open the Contact page.
- Create an HTML card and paste the copied HTML code from Formspree.
- Customize the form with your custom fields.
- To apply the modifications you've made, click the "Update" button.
Example Custom Form Code
<form action="https://formspree.io/f/xeqylqgr" method="POST">
  <label>
    Your email:
    <input type="email" name="email">
  </label>
  <label>
    Department:
    <select name="department">
      <option disabled>Select a department</option>
      <option value="Sales">Sales</option>
      <option value="Billing">Billing</option>
      <option value="Customer Support">Customer Support</option>
    </select>
  </label>
  <label>
    Your message:
    <textarea name="message"></textarea>
  </label>
  <button type="submit">Send</button>
</form>
As long as you adhere to the format described above, the form submission will be processed through an AJAX request by default, preventing redirection to formspree.io after submission.