Contact page
Enable readers to seamlessly connect with you by setting up a dedicated contact page with Formspree.io integration.
If you want your audience to contact you directly, this theme includes built-in Formspree.io integration, allowing you to deploy a fully functional contact pipeline without writing any server logic.
Add the contact page
First, we need to create the endpoint page for your users to navigate to.
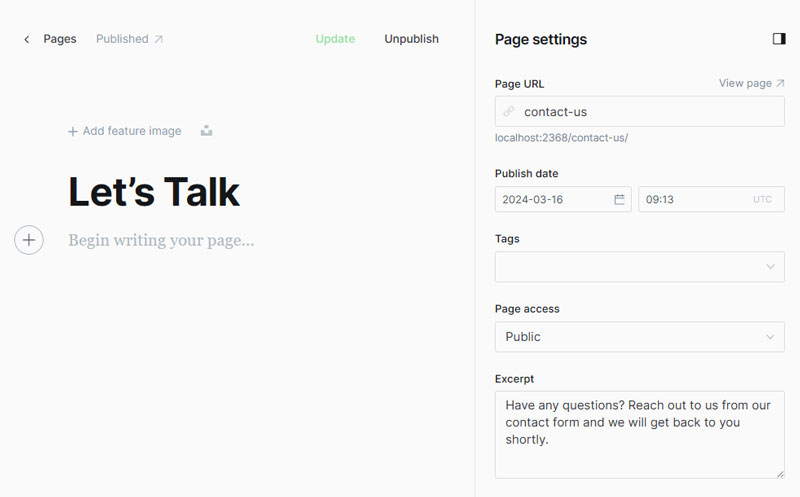
In Ghost Admin, create a New Page.
Provide a title (e.g., "Contact Us") and an optional excerpt.
Click the icon in the top right to open the Page settings panel.
Scroll to the bottom of the panel and locate the Template dropdown. Select the Contact template.
Click Publish so the page is live.
Easy: Standard Contact Form
To drastically simplify setup, the theme ships with a pre-built frontend interface for Name, Email, and Message. You merely need to link it to your Formspree backend endpoint.
1. Get the Endpoint
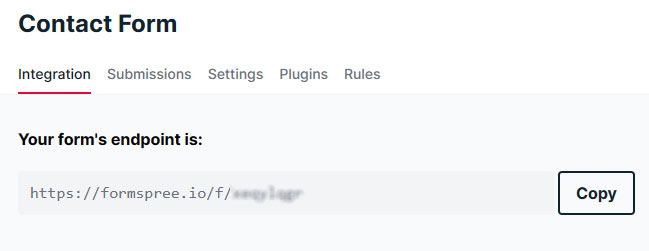
Navigate to formspree.io and generate a free account.
Create a new form within their dashboard.
Copy the generated Endpoint URL.
2. Link the Endpoint
Back in your Ghost Admin, go to the Design & branding settings.
Under the Site wide tab, locate the Contact form endpoint field.
Paste your Formspree endpoint (e.g., https://formspree.io/f/xeqylqgk).
Click Save to bridge the connection.
Advanced: Custom Contact Form
If you require advanced data collection (like dropdown menus, department selections, or custom inputs), you can inject raw HTML directly into the page. The theme will gracefully handle the data submission!
Important Note
This advanced step is completely unnecessary if you only need the standard Name/Email/Message fields that you configured above.
1. Enable the Injection Mode
To override the pre-built UI, we must flag the page.
Navigate to your published Contact page in Ghost Admin.
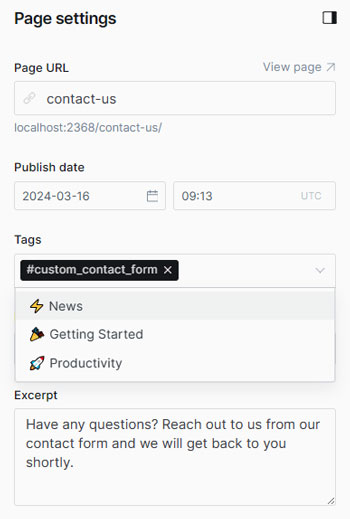
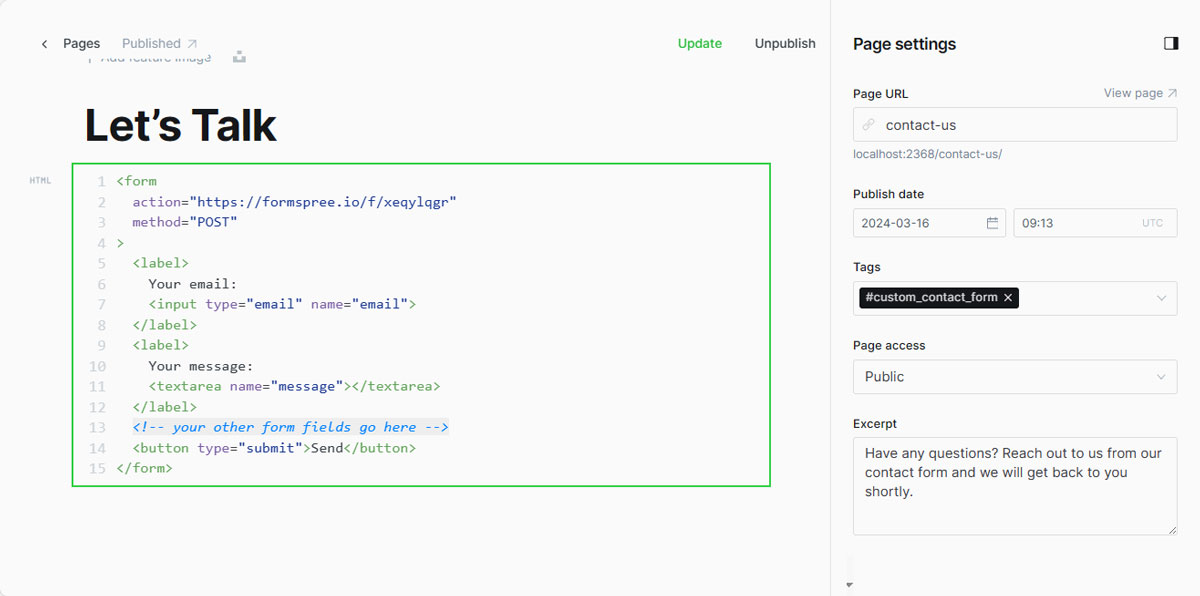
Open the Page settings side panel.
In the Tags field, type exactly: #custom_contact_form and press enter.
2. Inject the HTML
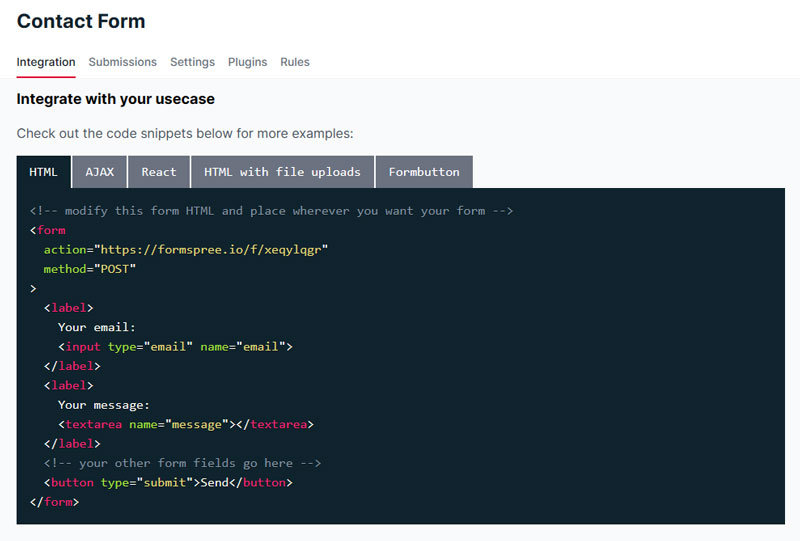
In your Formspree account window, navigate to the HTML / Integration tab and copy your generated form HTML.
Back on the Ghost Contact page editor, add an HTML Card.
Paste the Formspree HTML directly into the block.
Click Update to save the page layout.
HTML Payload Example
<form action="https://formspree.io/f/xeqylqgr" method="POST">
  <label>
    Your email:
    <input type="email" name="email">
  </label>
  <label>
    Department:
    <select name="department">
      <option disabled>Select a department</option>
      <option value="Sales">Sales</option>
      <option value="Billing">Billing</option>
      <option value="Customer Support">Customer Support</option>
    </select>
  </label>
  <label>
    Your message:
    <textarea name="message"></textarea>
  </label>
  <button type="submit">Send</button>
</form>
Native AJAX Support
Because our theme is heavily optimized, as long as you adhere to standard <form> semantics, the submission will be processed silently through strict AJAX requests! This prevents the page from aggressively redirecting users to the actual Formspree.io website upon clicking submit.