Advanced Options
The theme offers advanced customization options and enables advanced functionalities through other features. Explore all available customization options in this section.
Navigation
Primary Navigation
To customize Primary navigation, you need to:
By default, this theme supports a drop-down menu in the header navigation that can display a second level of items.
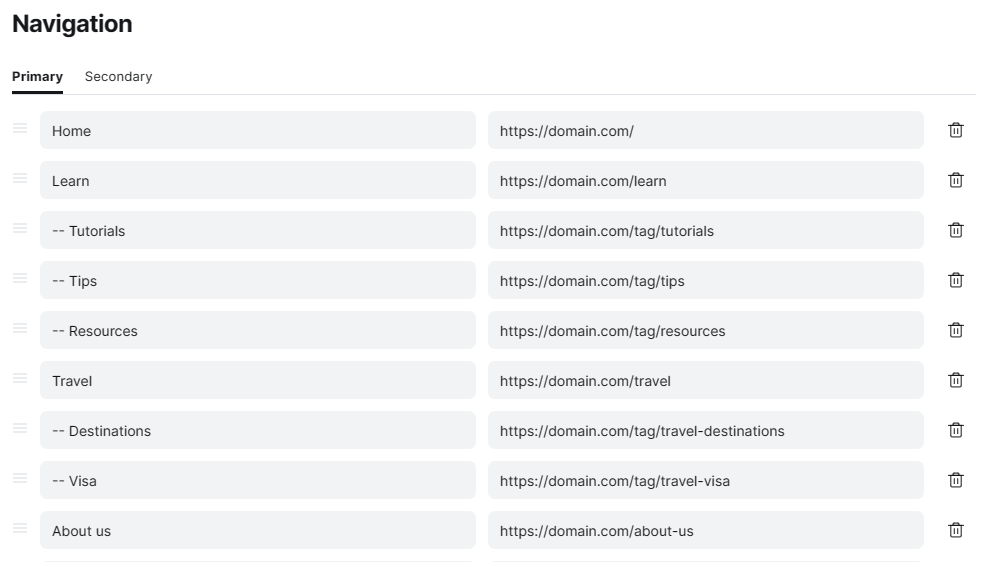
You can easily create a sub-menu under any main menu item in the header navigation of this theme. This feature is built-in and does not require any additional configuration.
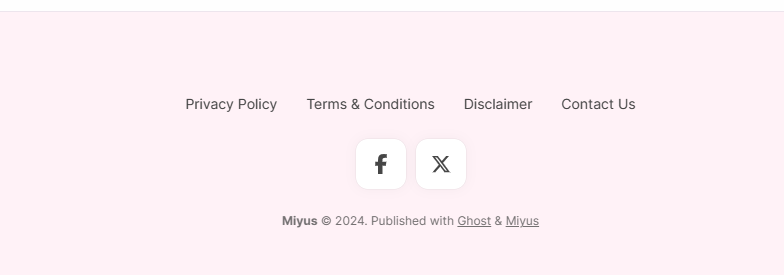
Preview:

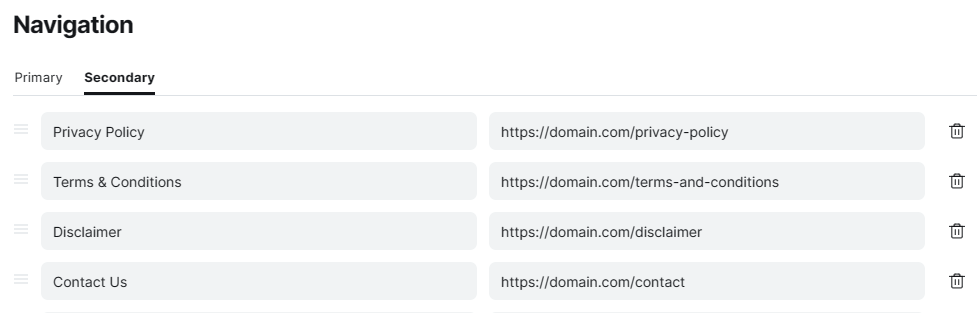
Secondary Navigation
To customize Primary navigation, you need to:
Preview:
Translation
Theme Translation
The theme is fully compatible with the native translation option in Ghost CMS. This means that text in a theme is translated based on the language set in Ghost Admin.
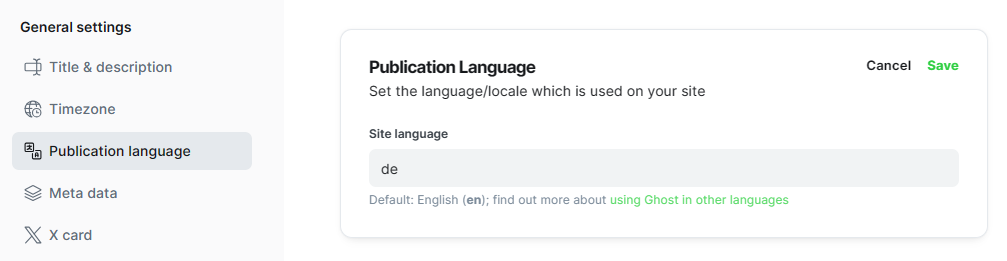
The theme is currently available in following languages:
en- English (Default)de- German
We are happy to offer free translation services for any language that is not listed above.
Please reach out to us if you need our assistance with your language preference.
Portal Translation
Portal is an independent feature that is not part of the theme. However, you can change the language of your membership pages to match your publication.
To turn on Portal translation option:
You can find more information about this option in our comprehensive guide.
Contact page
If you want your readers to contact you directly, you can add a contact page to your website. This theme includes built-in Formspree.io integration for easy setup.
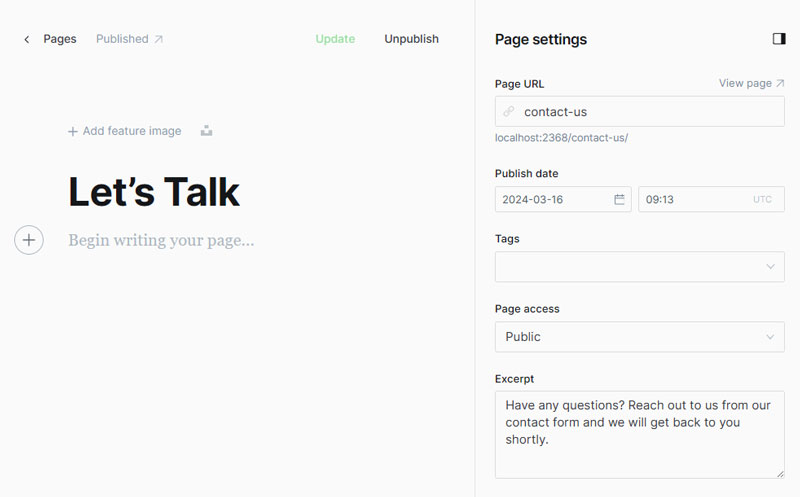
Add the contact page
- Create a new page, add a page title, add an excerpt, and open the 'Page settings' panel using the icon in the top right of the screen.
- At the bottom of the panel you’ll see a dropdown menu titled 'Template'.
- Use the dropdown menu to select the 'Contact' template, close the panel.
- Finally, click 'Publish'.
Easy: Standard Contact Form
To simplify setup, we've pre-built a contact form into the contact page, featuring fields for Name, Email Address, and Message. You can enable this quickly and easily, even without any coding knowledge.
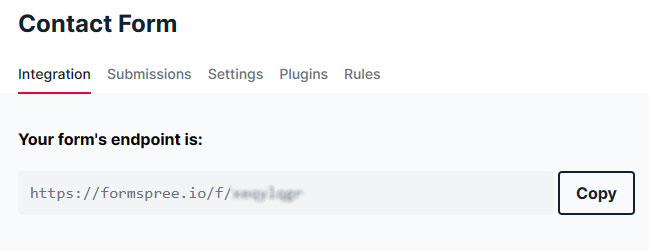
Create a form on Formspree.io
- Go to formspree.io and sign up for an account.
- Once signed in, create a new form and obtain the endpoint URL for the form.
Add your Formspree endpoint
- Navigate to 'Design & branding' settings in the Ghost Admin.
- Locate the "Site wide" tab on the right-hand side of the interface.
- Navigate to the field labeled "Contact form endpoint" and toggle on or off the setting.
- Paste your Formspree endpoint. e.g:
https://formspree.io/f/xeqylqgk - To apply the modifications you've made, click the "Save" button.
Advanced: Custom Contact Form
If you prefer to use a custom contact form instead of the one included with the theme, you can do so without editing the theme files.
Important: This step is not required if you have set up the standard contact form.
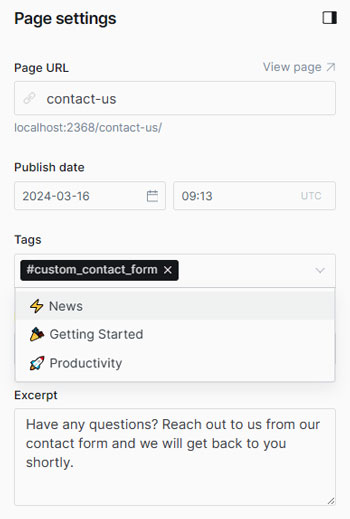
Enable the custom contact form
Add the custom contact form
- Go to your Formspree account and copy the form content from the "HTML" section.

- Navigate back to the Ghost dashboard and open the Contact page.
- Create an HTML card and paste the copied HTML code from Formspree.
- Customize the form with your custom fields.
- To apply the modifications you've made, click the "Update" button.
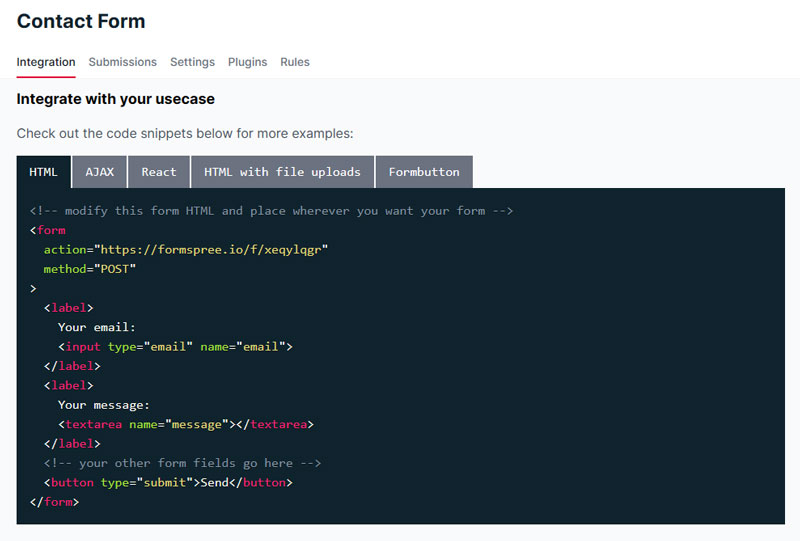
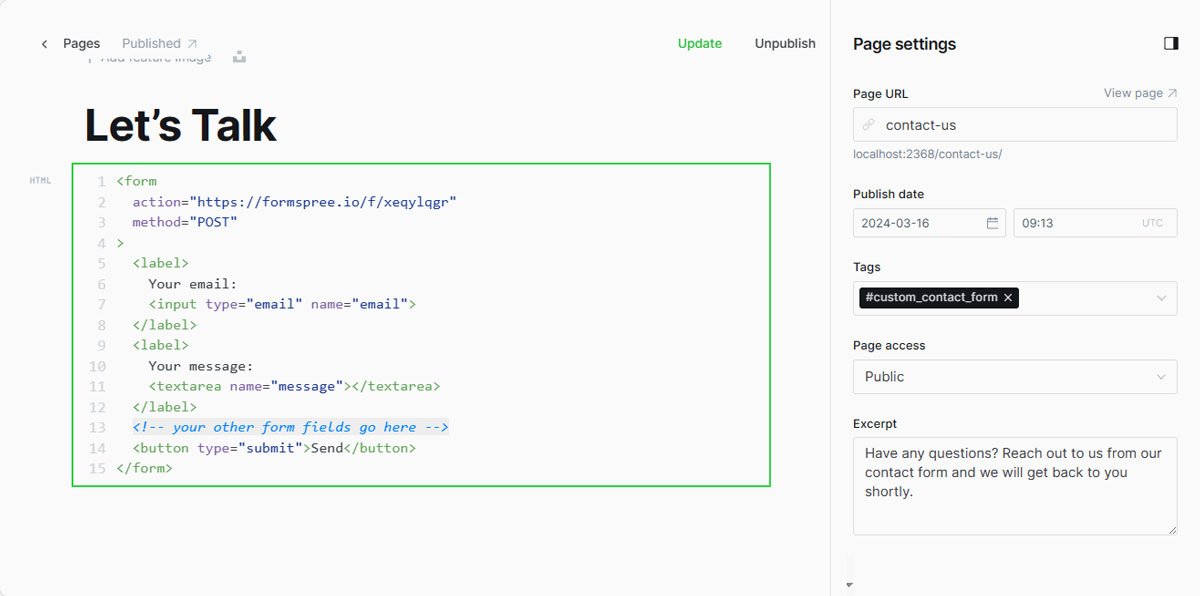
Example Custom Form Code
<form action="https://formspree.io/f/xeqylqgr" method="POST">
  <label>
    Your email:
    <input type="email" name="email">
  </label>
  <label>
    Department:
    <select name="department">
      <option disabled>Select a department</option>
      <option value="Sales">Sales</option>
      <option value="Billing">Billing</option>
      <option value="Customer Support">Customer Support</option>
    </select>
  </label>
  <label>
    Your message:
    <textarea name="message"></textarea>
  </label>
  <button type="submit">Send</button>
</form>
As long as you adhere to the format described above, the form submission will be processed through an AJAX request by default, preventing redirection to formspree.io after submission.
Authors page
The Miyus theme includes a predefined Authors page template, which features a comprehensive list of your blog's authors.
Add the authors page
- Create a new page
- Add a page title
- Feature image (optional)
- Open the 'Page settings' panel using the icon in the top right of the screen.
- Add an excerpt (optional)
- At the bottom of the panel, you’ll see a dropdown menu titled 'Template'.
- Use the dropdown menu to select the 'Authors' template, close the panel.
- Finally, click 'Publish'.